Dawn of Defense Economy & Resources Guide
Wood, Food, Iron, Stone, Meadhall boosts, and when expanding beats turtling.
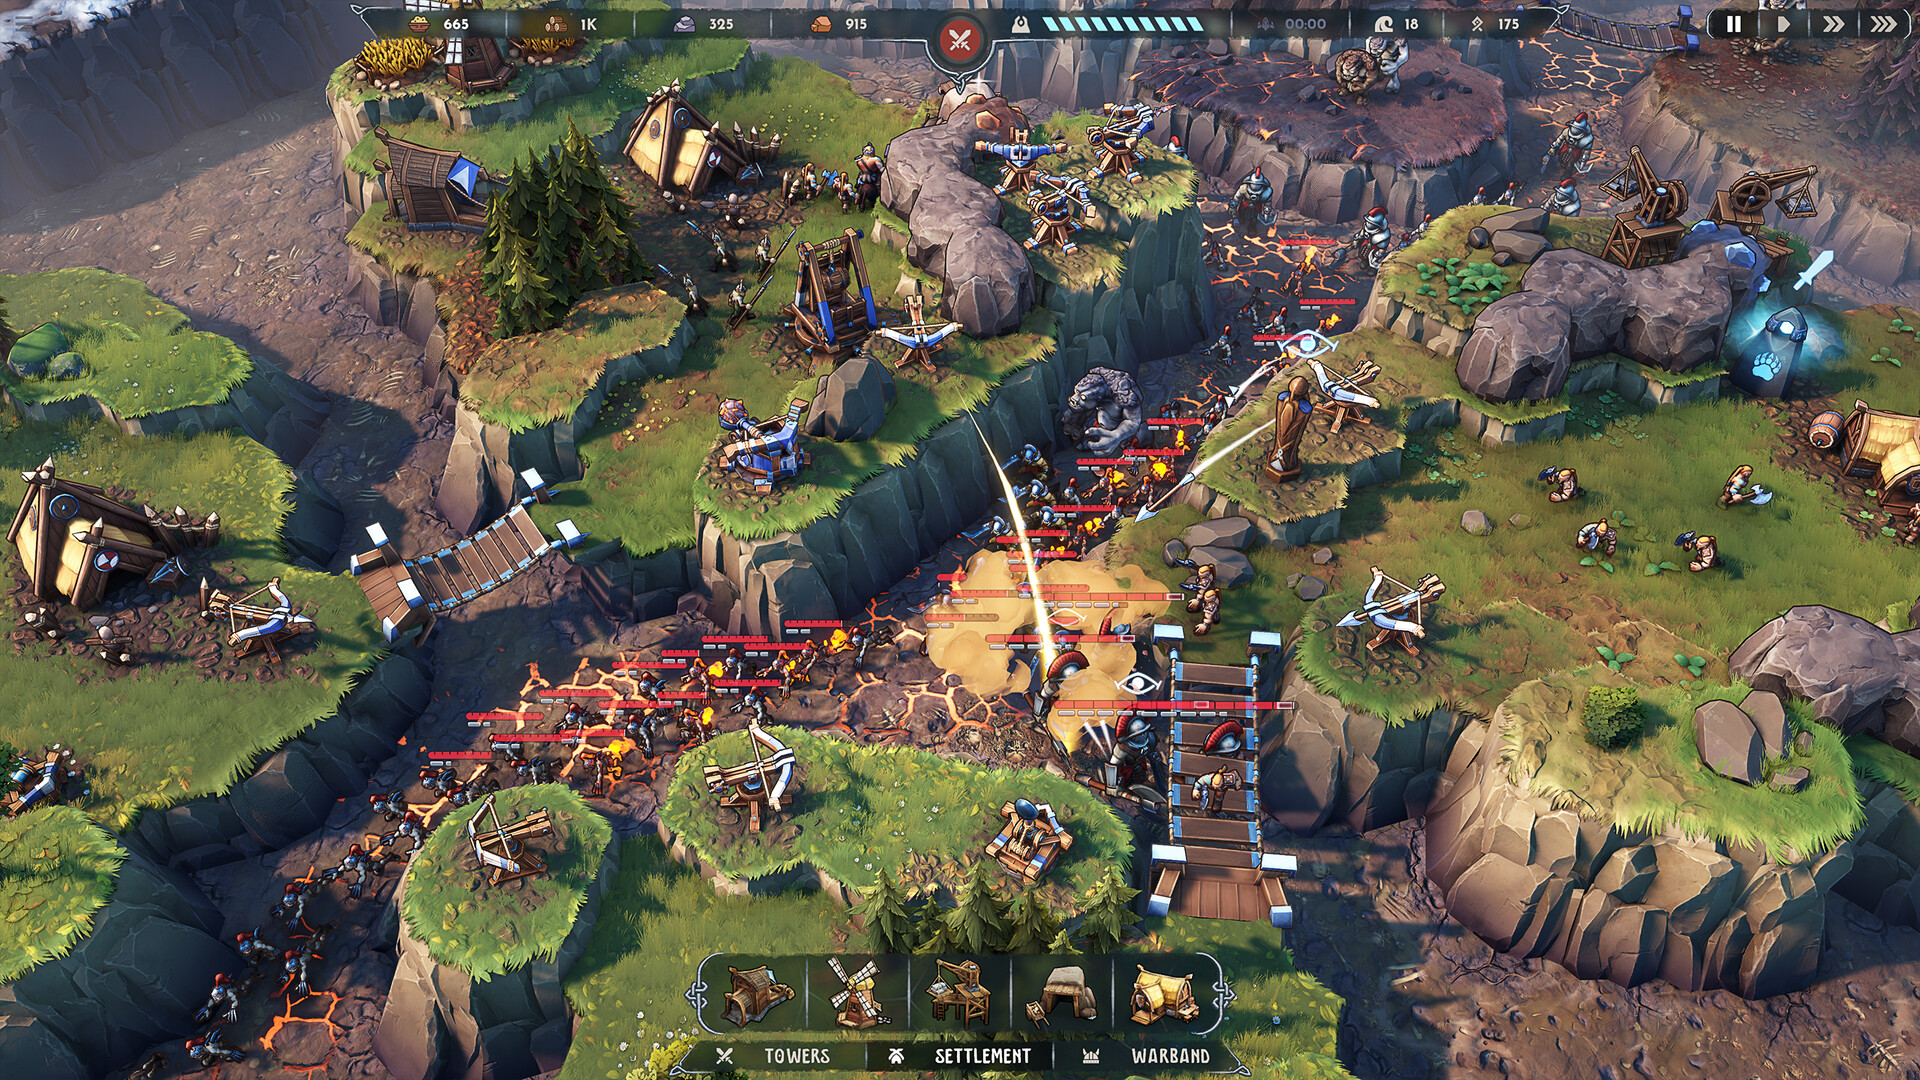
Economy wins Dawn of Defense runs before flashy tower upgrades do. Wood, Food, Iron, and Stone fund every Boltskot on the trench and every Shieldbearer on a Bridge. This guide explains deposit placement, settlement buildings, the Meadhall 50% aura, plot limits, and the expand-versus-defend decision that separates stable Spiridun holds from sudden collapses. Pair it with Getting Started if you still need the first-hour spine, and with Capture Islands when you are ready to spend surplus on map control.
Dawn of Defense launched November 17, 2026 as a single-player Steam title from 6side Studio. There is no multiplayer partner to cover a starved lane — your Sawmills either feed the war or they do not.
The four resources
| Resource | Primary building | Placement cue | Early priority |
|---|---|---|---|
| Wood | Sawmill | Forest tiles / wooded adjacency | Critical from wave one |
| Food | Windmill | Fields / fertile adjacency | Critical with Wood |
| Stone | Quarry | Stone deposits | Mid once unlocked |
| Iron | Mine | Iron veins | Mid for heavier units and upgrades |
Wood buys most early towers and Bridges. Food fuels training and keeps settlement growth honest. Stone and Iron unlock the expensive layer: advanced towers, Catapults, and fortress-ready upgrades. Starving any one resource creates a soft lock — for example, pure Wood without Food means Barracks queues stall while trenches still demand answers.
Settlement buildings and adjacency
Always preview placement. Sawmills scale with nearby forest tiles; Windmills scale with fields. A Sawmill on barren ground wastes a plot that could have been a tower covering Spiridun. Quarry and Mine follow the same logic on Stone deposits and Iron veins. Because islands enforce building capacities and plot costs, a mediocre adjacency building is worse than waiting one wave to capture a richer island.
Barracks is not a resource building, but it competes for the same plots. Train where you can protect the structure and path warriors to a Bridge quickly. Spiridun itself is your nexus — never crowd its approaches with economy buildings that block tower sightlines on the trench.
Meadhall: the 50% multiplier
Meadhall boosts nearby resource buildings by 50%. That aura turns a good deposit cluster into a runaway engine. Ideal Meadhall spots sit in the middle of two or three already-strong Sawmills, Windmills, Quarries, or Mines — not on an empty island hoping future buildings will arrive.
Build Meadhall after the cluster exists. Dropping Meadhall first on a sparse island delays real income and burns plots. When you capture a new island via the tactics in Capture Islands, plan the resource triangle first, then stamp Meadhall in the center once two producers are online.
Plot limits and elevation tradeoffs
Islands support a limited number of buildings. Towers want elevation for range and stat buffs; economy buildings want deposit adjacency, which is often lower ground. Resolve the conflict by role:
- Trench-facing islands: prioritize tower plots on elevation that sees the lane; squeeze economy only onto leftover high-adjacency tiles.
- Safe rear or captured islands: prioritize Sawmill, Windmill, Quarry, Mine, and Meadhall; forward only a light tower if a flank lane exists.
- Bridgehead islands: mix — one defensive tower plus the best deposit building you can afford before the next wave.
Runestones that increase available plots or buff civil production are high value when your seed is plot-starved. Temporary Runestone economy spikes often outperform a greedy early fortress march.
When to expand versus defend
Expand when:
- Spiridun is taking little or no chip damage.
- Wood and Food overflow while towers already clear the current wave composition.
- A neighboring island shows clear forest, field, Stone, or Iron adjacency.
- You can afford a Bridge plus a warband without skipping a needed Tarbarl or Boltskot.
Defend / turtle when:
- Spiridun HP is trending down across waves.
- Enemy packs include Armor or Ward that your current tower mix cannot shred.
- Your only free plots are low-value tiles — expanding into emptiness does not help.
- A warlord wave is announced and you still lack Eyodin marks, slows, or AoE.
Greedy expansion is the most common cause of sudden losses. A captured island that is not yet producing cannot save Spiridun from a trench breach. Take the island, drop the producer, and snap attention home before the next spawn.
Funding towers and army together
Think in ratios, not absolutes. Early: roughly two economy actions for every army surge. Mid: once Meadhall is online, you can support heavier mixes — Skullbrakkr AoE, Krokran stuns for unarmored packs, Eyodin vulnerability marks for elites, and Shieldbearer-front warbands for sieges.
Iron and Stone timing matters before fortress pushes. If Beat Warlords content is your goal, bank Iron for Catapults and tougher unit compositions, and Stone for the upgrade layer your Runestone path expects. Blood Moon difficulty pays more Runes but punishes thin economies harder — do not climb difficulty until Meadhall clusters feel automatic.
Runestones and Runes for economy minds
Pick Runestones that unlock producers, plot caps, or production multipliers when deposits are weak. Pick damage Runestones when trenches are the bottleneck and income is already healthy. After the run, spend Runes (meta currency from wins and losses) into permanent nodes that unlock better civil options or extra Runestone choices. That meta path shortens the time to a stable Meadhall engine on future seeds.
Practical economy checklist
- Scout deposit tiles before placing anything expensive.
- Sawmill and Windmill first on best adjacency.
- Towers on elevation that actually sees trenches.
- Bridge only when surplus exists.
- Capture, build producer, return to Spiridun defense.
- Meadhall centered on two-plus producers.
- Quarry and Mine as Stone and Iron gates open.
- Rebalance plots after each Runestone that changes build capacity.
Related guides
- Getting Started — early build order that feeds this economy plan.
- Capture Islands — how to take the islands your deposits require.
- Beat Warlords — what to spend late Iron and Stone on.
- Guides Hub — full index.
A clean economy does not look dramatic in screenshots, but it is why your towers are still firing when Empire warlords arrive. Place for adjacency, multiply with Meadhall, and expand only while Spiridun is safe.
Frequently Asked Questions
Quick answers about Dawn of Defense and this wiki.
What do Sawmills and Windmills need?
Place Sawmills beside forest tiles for Wood and Windmills beside fields for Food. Adjacency strength matters more than building as early as possible on bad ground.
How does Meadhall work?
Meadhall boosts nearby resource buildings by 50%. Build it after you have a cluster of producers so the aura multiplies real income.
When should I expand to a new island for resources?
Expand when Spiridun is stable, you have Wood and Food surplus, and the target island offers clear deposits — then build a producer immediately.
Why am I out of build plots?
Islands have capacity limits. Prioritize high-adjacency economy and lane-covering towers, and watch for Runestones that increase available plots.
Should I rush Iron and Stone?
Secure Wood and Food first. Bring Quarry and Mine online before fortress pushes so Catapults, upgrades, and late towers are affordable.