Dawn of Defense Beat Warlords & Fortress Bosses
Armor, Ward, Banner Carriers, three fortresses, and Blood Moon preparation.
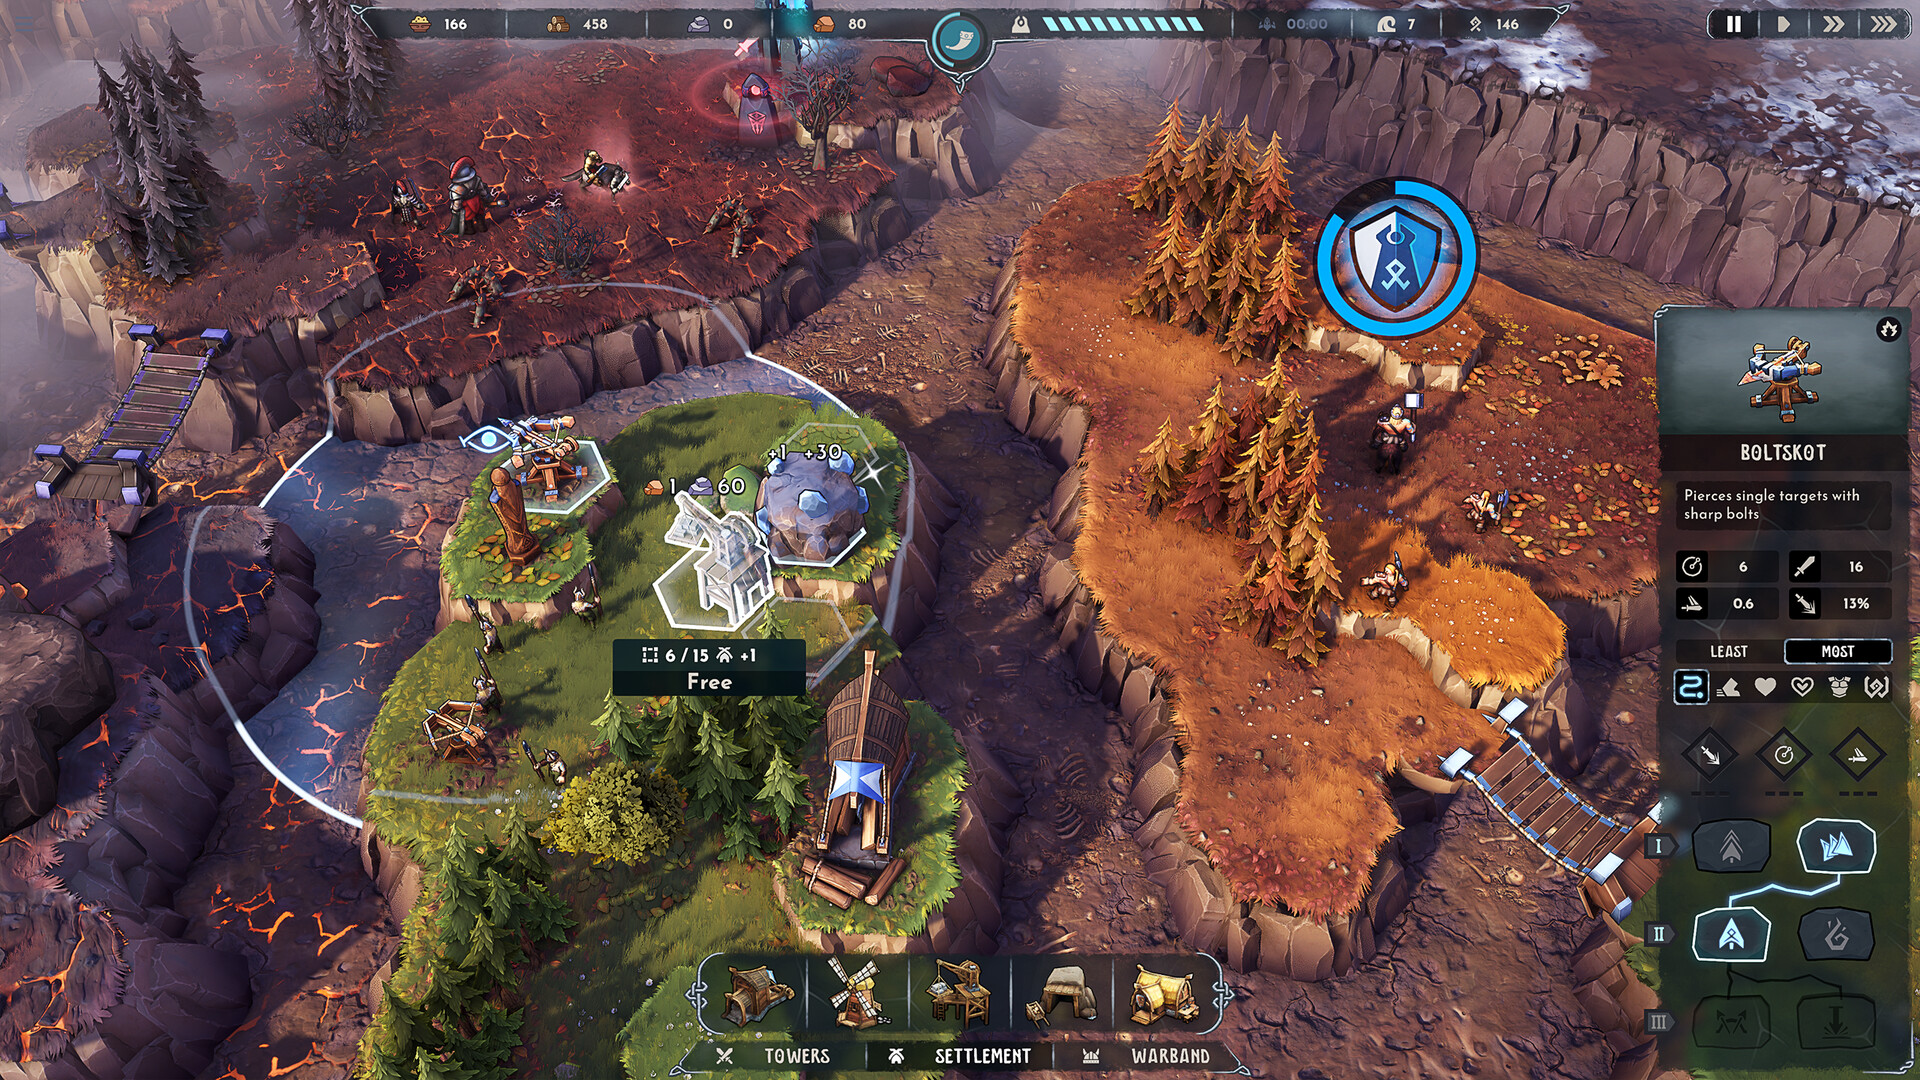
Empire warlords exist to punish one-dimensional defenses. Dawn of Defense structures the full campaign around three fortresses, each with unique boss patterns that force new tower mixes, army compositions, and island staging. This guide covers Armor and Ward interactions, Banner Carrier priority, preparation checklists, Blood Moon difficulty, and how to siege without abandoning Spiridun. Come here after you can stabilize economy and island takes — see Economy & Resources and Capture Islands if those pillars still wobble.
Released November 17, 2026 by 6side Studio, Dawn of Defense is single-player only on Steam PC. Warlord knowledge does not transfer through multiplayer; every tell you learn is earned in your own runs.
The three-fortress structure
Expect a campaign spine of three fortresses with distinct warlord identities. Across runs you uncover who you are fighting, learn pattern tells, and adapt. Procedural maps change approach lanes and island graphs, but fortress clears still demand:
- A trench net that survives with reduced micro.
- Forward islands as staging yards for Barracks and siege towers.
- Resource stockpiles of Wood, Food, Iron, and Stone.
- Runestone choices aimed at the boss’s defense type, not generic damage greed.
Do not treat the first fortress sighting as a mandatory timer. Farm islands, seat Meadhall clusters, and only march when the checklist below is green.
Armor, Ward, and Health
Combat resolves through Health plus defensive layers:
- Health — raw durability. Sustained Boltskot fire and Axemen chips eventually win if nothing else interferes.
- Armor — reduces the effectiveness of many physical hits. Answer with focus fire, Eyodin vulnerability marks, concentrated Catapult volleys, and Runestones that pierce or amplify against armored targets.
- Ward — a separate mitigation layer seen on threats such as Phalangors and some elite packages. Bring the damage types and marks your current unlocks provide; do not assume Armor counters automatically solve Ward.
Eyodin’s cold-stare vulnerability mark is a warlord staple: mark the boss or its armored escorts so Boltskot, Skullbrakkr, and army damage convert faster. Tarbarl slows buy time for marks and Catapult windups. Krokran stuns devastate unarmored adds that spawn mid-fight. Skullbrakkr AoE cleans the trash so single-target tools can stay on the warlord.
Banner Carriers: kill the aura first
Banner Carriers buff nearby Empire units. In fortress approaches they turn average packs into walls. Micro priority:
- Identify Banner Carriers in the clump.
- Assign Boltskot or hero abilities to delete them.
- Collapse the remaining pack with AoE and army.
- Re-target the warlord or objective.
Leaving Carriers alive is the most common “my damage feels wrong” complaint. The damage was fine — the aura was not.
Tower roles for boss windows
| Tower | Role vs warlords |
|---|---|
| Boltskot | Steady single-target pressure on the boss or Carrier |
| Skullbrakkr | AoE clear when adds clump on approaches |
| Tarbarl | Slow windows for marks, Catapults, and repositioning |
| Eyodin | Vulnerability marks on armored or high-priority targets |
| Krokran | Stuns and strong damage vs unarmored add waves |
Elevate towers that see the fortress approach. A pretty hill that cannot shoot the boss lane is a wasted plot during the most expensive fight of the run.
Army and hero prep
Bring Shieldbearers to hold space, Spearmen and Axemen for flexible damage, Shieldmaidens for extra durability, and Catapults for structure and boss pressure once Iron and Stone allow. Heroes from the altar should cover the gap your towers leave — gap close, burst, or supportive buffs. Keep Catapults behind the meat wall; losing siege engines mid-warlord wastes the Iron you farmed across islands.
Rally on a captured bridgehead island so reinforcements reach the fortress quickly. If the trench alarms, retreat the army before Spiridun chips turn into a loss. A failed siege you walk away from is recoverable; a dead Spiridun is not.
Preparation checklist before a fortress push
- Spiridun stable for several waves with light micro.
- Meadhall-backed Wood and Food income online.
- Iron and Stone available for Catapults and upgrades.
- At least one forward island staging Barracks or towers.
- Eyodin unlocked or marked via Runestone if Armor is expected.
- Tarbarl or equivalent slow available for add waves.
- Banner Carrier focus plan assigned (tower or hero).
- Runestone picks committed to boss needs, not random shiny options.
- Pause readiness — autosave is experimental; avoid reckless mid-fight exits.
- Mental map of retreat path across Bridges if the trench breaks.
If more than two boxes fail, keep farming with the methods in Capture Islands instead of forcing the gate.
Blood Moon and difficulty climbing
Higher difficulties up to Blood Moon increase pressure and Rune payouts. More Runes accelerate the permanent skill tree, which unlocks stronger future Runestone pools and tools. Climb when:
- You can clear fortress patterns consistently on the current tier.
- Your meta tree already unlocked key civil or military nodes.
- You accept that greedy island takes are punished harder.
Do not jump to Blood Moon to “fix Runes faster” if you cannot finish runs — dead runs still pay Runes, but learning speed drops when every attempt ends before the first fortress teachable moment.
Runestones and Runes for boss hunting
During the run, prioritize Runestones that unlock the missing counter: vulnerability, slow, AoE, plot caps for approach towers, or unit unlocks. After the run, spend Runes into permanent nodes that make those counters appear more often or start stronger. Separate the currencies clearly — Runestones reshape one attempt; Runes reshape your account.
Mid-fight decision tree
- Boss Armor spiked, damage low: confirm Eyodin mark uptime; retarget Carriers; add Boltskot focus.
- Add waves flooding: Skullbrakkr and Krokran on adds; Tarbarl to create space; pause boss damage briefly.
- Spiridun alarms: hard retreat army; spend Wood on emergency trench towers; resume siege only when stable.
- Siege engines dying: pull Catapults back; advance Shieldbearers; clear the threat before reopening fire.
Related guides
- Getting Started — foundation before any fortress attempt.
- Economy & Resources — Iron, Stone, and Meadhall funding for sieges.
- Capture Islands — bridgeheads and staging yards.
- Guides Hub — complete guide list.
Warlords reward preparation more than panic. Mark what must die first, slow what must be delayed, and keep Spiridun in your peripheral vision for the entire siege. Clear the three fortresses on honest difficulty first, then climb toward Blood Moon when the checklist feels automatic.
Frequently Asked Questions
Quick answers about Dawn of Defense and this wiki.
How many fortresses are in Dawn of Defense?
The full game centers on three fortresses, each with unique warlord boss patterns you learn across runs.
How do I deal with Armor and Ward?
Use Eyodin vulnerability marks, focus fire, and appropriate damage tools for Armor. Treat Ward as its own layer — do not assume Armor counters automatically solve it.
Why are Banner Carriers so important?
They buff nearby Empire units. Killing Carriers first removes the aura and makes warlord and add packs much easier to finish.
What is Blood Moon difficulty?
A higher difficulty tier that increases challenge and Rune rewards. Climb to it after you can clear fortress patterns consistently on lower pressure.
Should I keep sieging if Spiridun is under attack?
No. Retreat the army, stabilize trench towers, and only resume the fortress push once Spiridun is safe again.